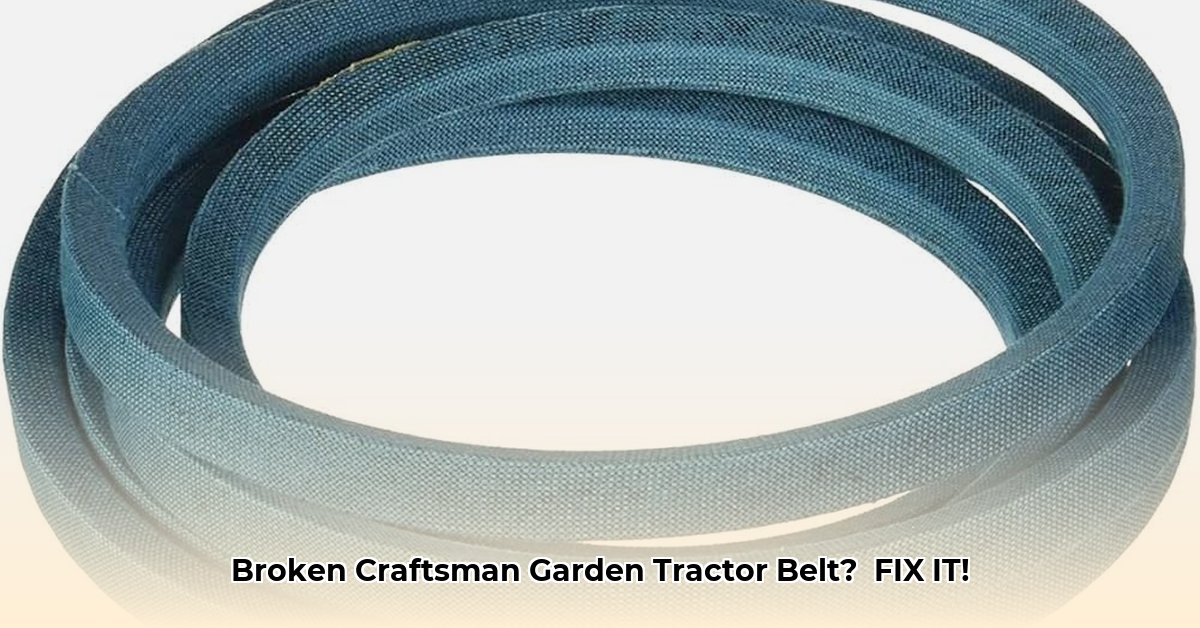
A broken drive belt can leave your Craftsman garden tractor stranded and your lawn overgrown. This guide provides a clear, step-by-step process to replace your belt, comparing common replacement options (like Craftsman and Lowe's) to help ensure you choose the right one for your model. We'll cover safety precautions, installation, and troubleshooting – turning a seemingly daunting task into a manageable DIY project. For more detailed diagrams, check out this helpful resource.
Identifying Your Belt Needs: Deck Size Matters
Before you buy anything, determine your mower's cutting deck size (42-inch or 46-inch). This seemingly small detail significantly impacts belt selection. Many replacement belts are marketed as fitting both sizes, leading to confusion and potential incompatibility. Your owner's manual is crucial; it lists the exact model number and the recommended belt part number – saving you time and potential frustration. Don't skip this step!
Comparing Replacement Belts: Craftsman vs. Lowe's
Two popular choices often emerge: Craftsman belts (e.g., CMXGZAM501035) and comparable options from Lowe's (e.g., 1001574210). While both may seem similar, key differences exist. Always verify compatibility with your owner's manual.
| Feature | Craftsman (Example: CMXGZAM501035) | Lowe's (Example: 1001574210) |
|---|---|---|
| Part Number | CMXGZAM501035 | 1001574210 |
| Claimed OEM Part Numbers | May list numbers like 954-0467/754-0467 | May list numbers like 954-04208/754-04208 |
| Deck Size Compatibility | Often advertised for both 42" and 46" decks, but verify! | Usually specified for 42" decks only |
| Price | Varies by retailer and season | Varies by retailer and season |
| Material | High-strength reinforced rubber | High-strength reinforced rubber |
Note the potential discrepancies in OEM (Original Equipment Manufacturer) part numbers. These differences don't automatically disqualify a belt, but they highlight the importance of verifying compatibility with your owner's manual.
Step-by-Step Belt Replacement: A DIY Guide
This section guides you through replacing the belt. Remember, safety is paramount.
Safety First: Disconnect the spark plug before beginning any work. This prevents accidental starts and potential injury. This is non-negotiable.
Locate the Belt: Identify the old belt under the mower deck. Familiarize yourself with its routing before removal.
Release Tension: Locate the belt tensioner (your manual shows its location and operation). Loosen it to release belt tension.
Remove the Old Belt: Carefully remove the worn belt from the pulleys. Note its routing for accurate reinstallation.
Install the New Belt: Guide the new belt onto the pulleys, following the original routing. Take your time to avoid misalignment.
Re-tighten and Adjust: Re-engage the tensioner, achieving the correct belt tension (refer to your manual). Avoid over-tightening.
Test Run: Briefly start the engine (1-2 minutes) to check for proper belt function. Listen for unusual noises (squealing, slipping).
Final Inspection: Visually inspect the belt and its alignment. Look for any signs of damage or slippage.
Troubleshooting Common Belt Issues
Even with careful installation, problems might arise. Here are solutions for common issues:
Squealing Belt: Usually indicates loose or damaged belt. Check tension; replace if necessary.
Belt Slipping: Often due to insufficient tension or a worn belt. Check tension; replace if needed.
Belt Breakage: Suggests excessive wear or a different mechanical problem. Inspect pulleys and drive components.
This guide provides a general overview. Your Craftsman tractor's owner's manual contains model-specific instructions and safety information – always consult it. A correctly installed belt ensures your mower's longevity and your safety. Don't rush the process; if unsure, seek assistance.